Consistent A.I. Characters in MidJourney
About a month ago (as I write this) I was able to find a method to generate a relatively consistent character in MidJourney for a project that we are working on.
Two methods, in fact, one of which is much easier than the other.
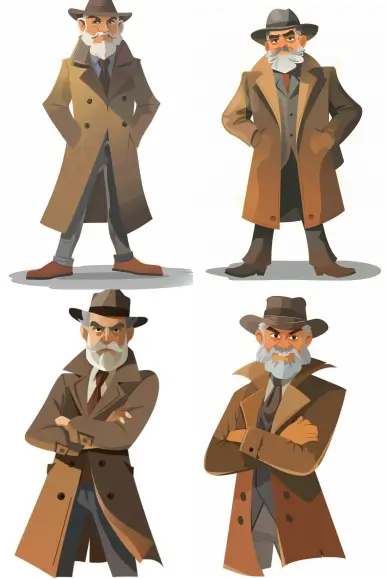
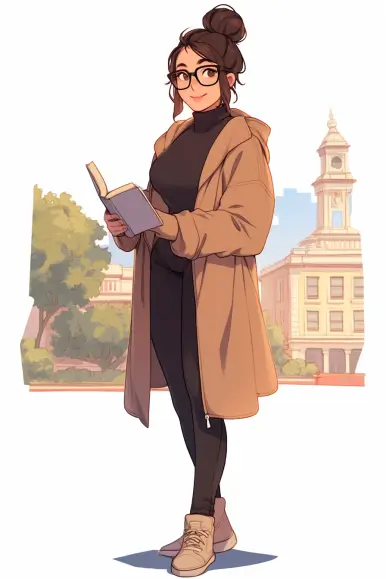
The first method wasn't a difficult process but it also was not as straight-forward as just asking the bot to generate an image of a specific character. It involved generating a specific image, editing out the background, using that to generate a character sheet, editing out the ones that I liked, and using all of those to create a composite/definitive version of the character, get the MidJourney seed number for that version, and then use minor tweaks to the original prompt along with the seed number to get relatively consistent characters:
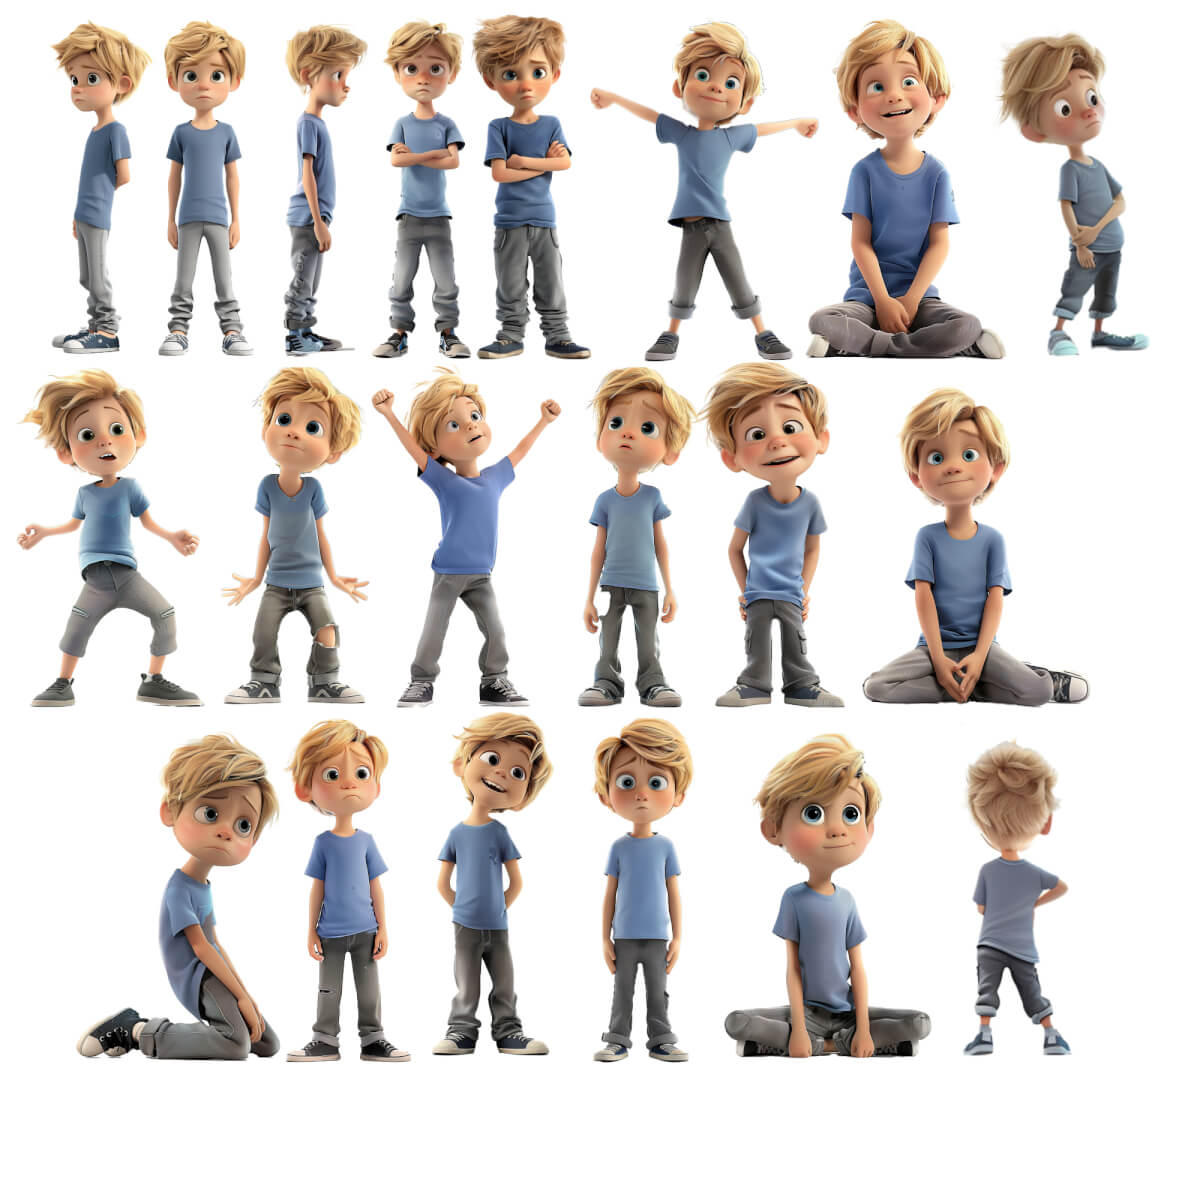
Now, obviously, these characters wouldn't be usable without individual edits for consistency, but it's the closest I've ever gotten and it would work really well as a method of storyboarding a story before hiring an illustrator.
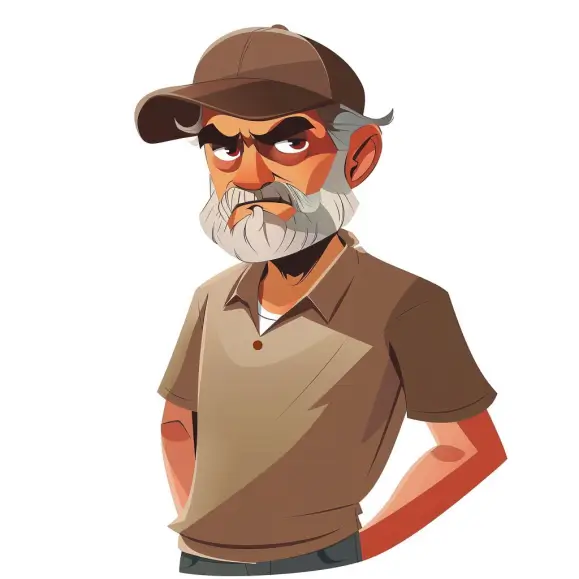
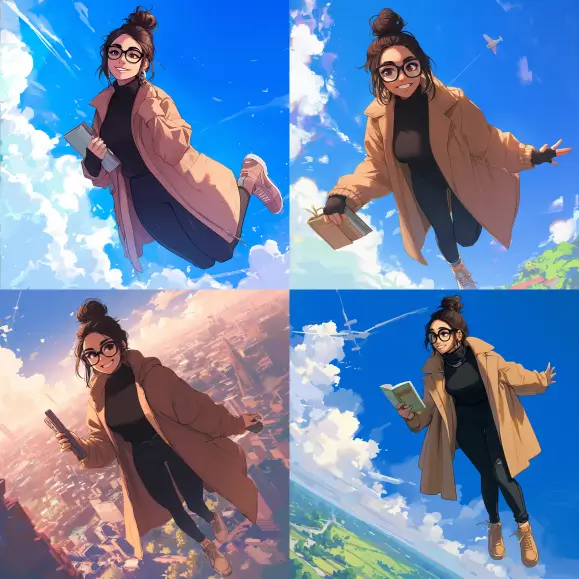
Feeling pretty proud of myself, I shared the method I was using with a few people and showed off some results, and then fast forward less than a week (it was only five days!) and MidJourney released a new feature that makes it incredibly easy to do the above without all of the work. Here are the results I got in a fraction of the time by using the new character reference feature on my original composite image I'd created:
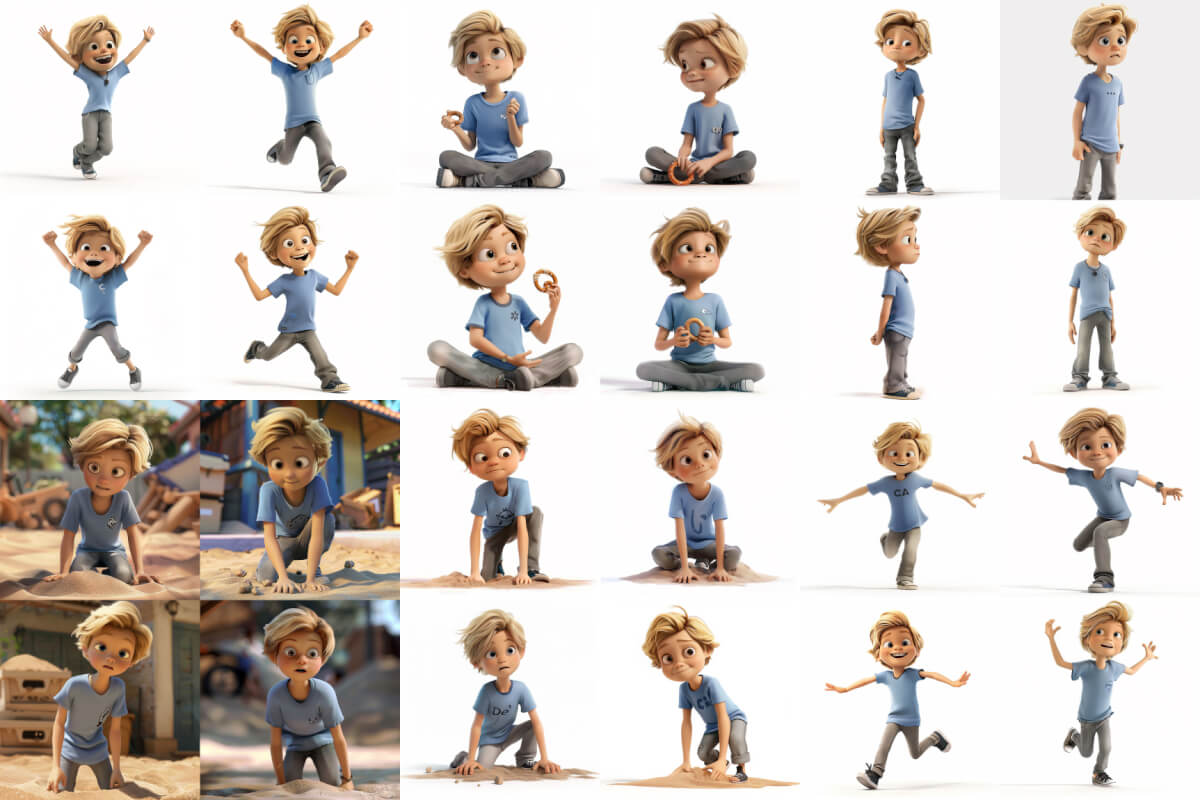
It's really good. Maybe not quite as good as the original ones that I created, but for storyboarding it is definitely much faster and certainly good enough.
Watch me use this new feature in the following demo from one of our ask us anything sessions where we generated some characters live with feedback from the attendees:
MidJourney Parameters for Consistent Characters
You only need one parameter to use this new feature, but there are 4 parameters that can help you control and fine tune your prompts.
–cref: Character Reference
So, how do you use this new feature for yourself? It is relatively easy and is a 3-step process:
- Generate a reference image of the character you want to create in different poses or wearing different clothes, etc. (You can bring your own image, but it will not work as consistently if it wasn't an image generated by MidJourney.)
- Create a new prompt of what you'd like that character to be doing, or how you'd like them to be posed, or what they are wearing, using the MidJourney or Niji version 6 models. Include the –crea parameter with a URL to your reference image from step 1.
- Repeat step 2 as often as necessary to get all of the poses that you want.
The –cref parameter stands for the character reference and accepts a single URL linking to a MidJourney generated character. Ideally, there will only be one person in each reference image. Precise details may not carry forward, and you can use multiple image references in a single prompt although I have not had much luck with that, personally. Your regular prompt criteria must go before the –cref parameter.
–cw: Character Weight
There is also a second parameter that you can add to the end of your prompt: –cw
–cw is the Character Weight parameter, and it sets the strength of characterization. You can assign it a value anywhere between 0 and 100, and it defaults to 100. This means that it will try to match the character's facial features, hairstyle, and clothing. The closer you get to 100, the less it will consider hairstyle or clothing. (Even at a weight of zero, it will still try to mimic the facial features.)
–sref and –sw: Style Reference & Weight
The –sref parameter will provide a consistent style to your image by providing a style reference image that MidJourney will try to duplicate. Unlike with the character reference, if you have multiple images in the same style already, it can make a big difference in having consistent images that don't change styles on you.
The –sw parameter lets you control the style weight and like the character weight it will default to 100. Unlike the character weight, however, you can specify anything between 0 and 1000, so you can actually give your style weight a much larger influence.
Case Study with Example Prompts:
Here are some specific prompts where you can follow along for yourself and see the results.
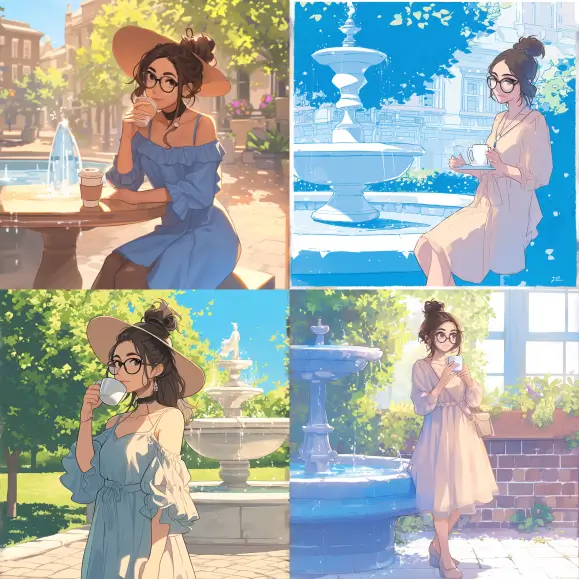
We'll start by generating options for the initial character and then upscaling our favorite:

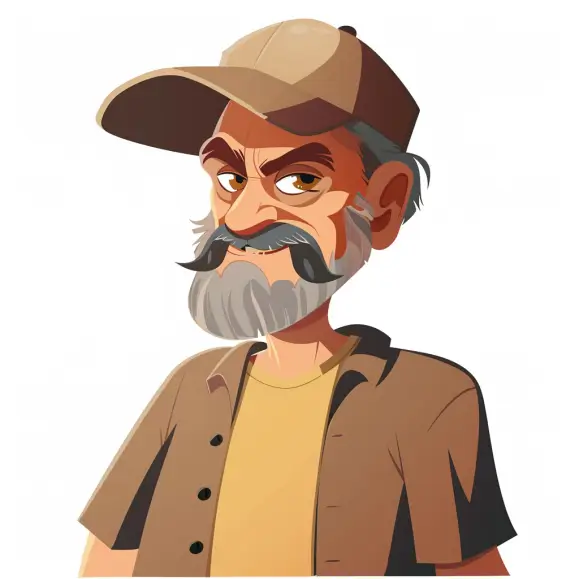
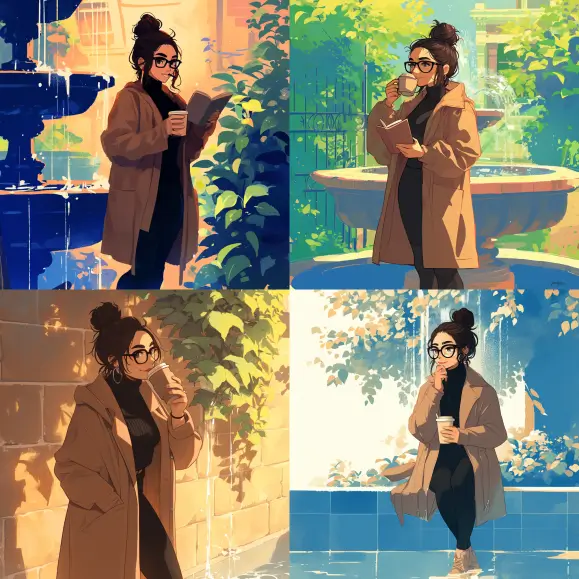
I like this guy, but he looks a bit grumpy, so let's see if we can get a version of him in a better mood:

You'll notice that we didn't need to provide the full descriptive prompt that we used previously, and got 4 pictures that look relatively similar as the same character. However, none of them are in the same flat cartoon style that we started with. We could explicitly call that out in each prompt, or we can use the style reference parameter:
These are closer to the right style, but not looking quite right. Let's give the style reference a little extra help, by using an additional sample image in the right cartoon style, as well as increasing the style weight to 900 instead of the default which is 100:
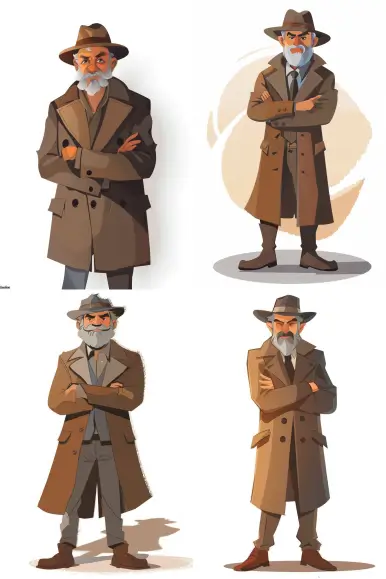
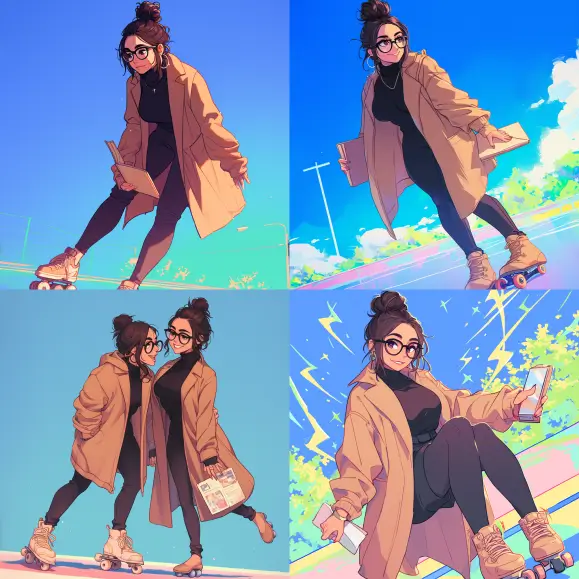
Not a fan of him wearing a fedora and trench coat? Let's see what our guy does during his leisure hours:
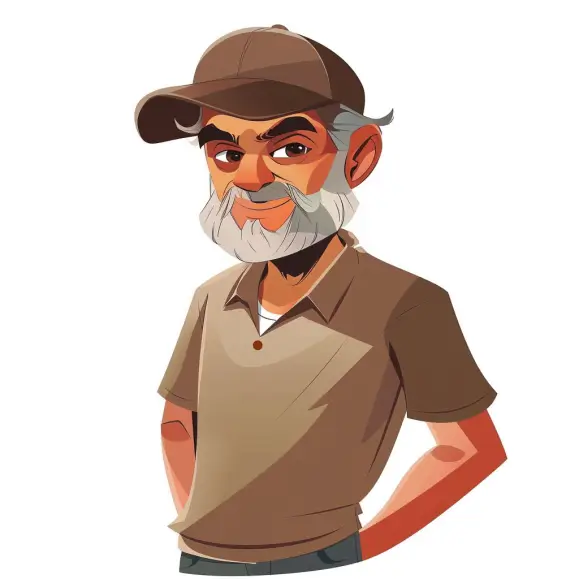
You do sometimes need to be explicit with how you want your expressions to come out. For example, in the first example above, I asked for him to look happy, but should have asked for a big smile like I got in the second example. Alternatively, if something isn't quite right, you can just vary the specific region to change an expression, as in the third example.


Not everything that you ask for will be usable. Dancing with an umbrella doesn't really match our character well enough and I'd want to re-generate these images, but along with a low character weight, you can use negative keywords using the –no parameter to get rid of certain elements of your reference image. In this case, his hat.
Case Study #2 – With Locations
In the first case study, I went with a white background so I could isolate the character, because that's what I did with my more difficult “manual” method of consistent character generation before the new feature was introduced. However, you can use any images that you generate for a character.
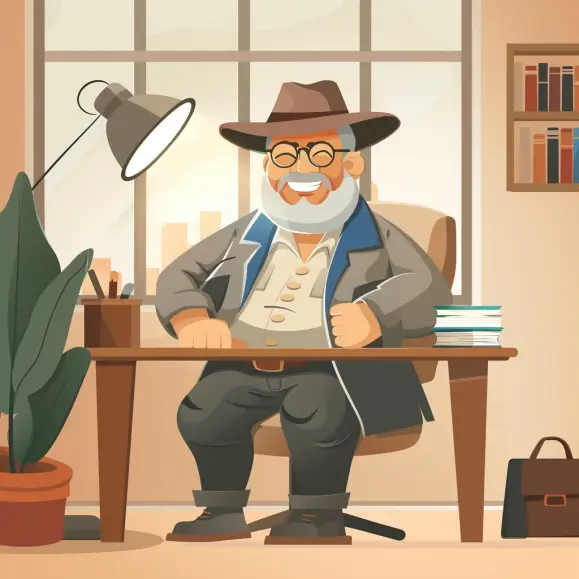
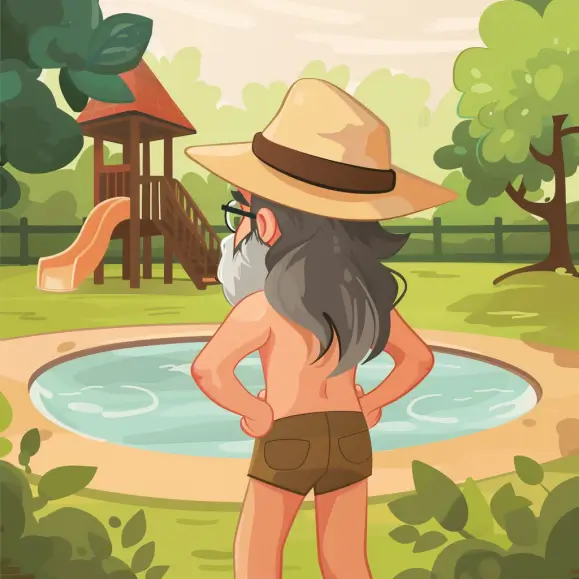
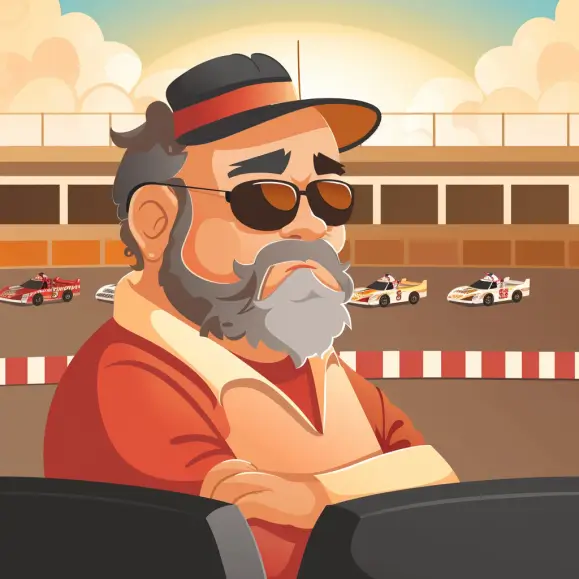
Let's start with the same basic character but with a different look and put him into an actual space:

He came out looking a little Henry Jones Sr.-ish, but could be a fun character. Rather than going through all of the same steps we did previously, let's try putting him into some new situations:

Case Study #3 – Mixed Nijijourney
“Niji” is (I think) the Western pronunciation of the Japenese word for “rainbow” and is a model used to create anime or illustrative images on MidJourney. (Nijijourney is a fan reference for Midjourney using Niji version 6.) There are multiple styles you can use with some of the older Niji models, but at least as of this week, version 6 only supports the “raw” style which is the default so there's no need to try using the others.
The character reference command is not compatible with the older Niji models.
To start, here's a character we created live in a demo on last week's Ask us Anything live training based on participant feedback:

And here she is switching models from MidJourney version 6 (alpha) to Niji version 6, and in a few different situations:
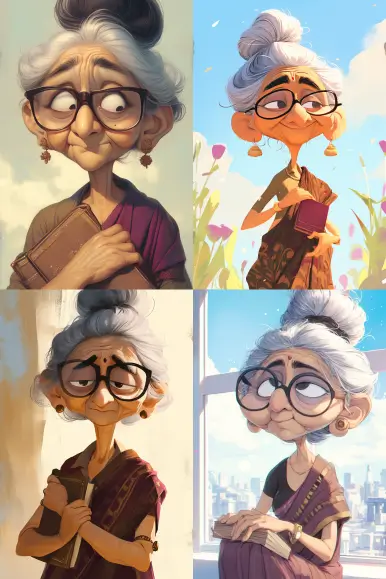


For the most part, the portraits came out reasonably close, although I didn't share the horror-show that was trying to get her running on a sidewalk without explicitly specifying full body or pixar style (her face was on the back of her head in 3 out of the 4 images and that wasn't even the worst part!)
Case Study #4 – 100% Niji v6
Let's try creating a similar character from scratch with the Niji version 6 model right from the beginning, starting with a similar prompt that we used in our demo last week:
Most of my tests came out with a consistent and usable character with only minor edits required.
Now, not all of the situations she was put in were particularly realistic, but I could easily see many of these portraits used as the basis for a cozy mystery cover or leading off a series of certain sub-genres of romance.
You can follow along with my prompts as I experimented with this particular model to see the different results:


Lessons Learned
This feature is still in beta, so you definitely will not get something completely usable right out of the box. Expect that you'll need to make some edits if you plan to use these images in a book.
If the art style works for your particular project, then experiment with the Niji version 6 model as it was the most consistent results that I was able to create using this feature. If you are using Midjourney version 6 Alpha (the current default model) then try to be as specific for the art style or level of realism that you want.
I'd also recommend trying to keep things as simple as possible with just the character in different poses, as it seems to be a little easier to get consistency, and then to edit those images into backgrounds generated in an appropriate style.
If you do want to try to generate images directly, then it might be better to start with your character in his environment, because it can be difficult to get detailed backgrounds if you start with a completely white background.
This feature is ready to use out of the box for storyboards that you can hand over to an illustrator, but I would not necessarily use it yet for illustrating a full book.
If you are trying to create a consistent character for a series of book covers, and don't mind using AI-generated art as a starting point rather than stock photography, then this can give you an affordable option to hand over to your cover designer.
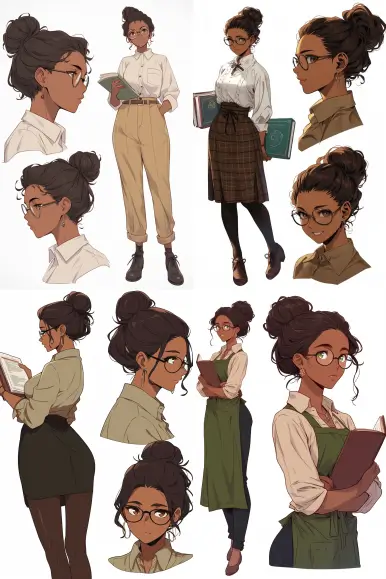
You also can't use this feature to create character sheets; every time I try, I usually wind up with 3 sample images with a single pose, and 1 image that includes a single full character pose but might have a few smaller and less fleshed out characters in the background. Using the Niji model, I was able to get multiple images for each option, but it usually consisted of a single full body and then headshots for the additional ones:
The most important lesson I want to share from this process, though, is that you should not be afraid to experiment and see what you might be able to create.
It can spark some fun creativity and at least give you a laugh here and there.
