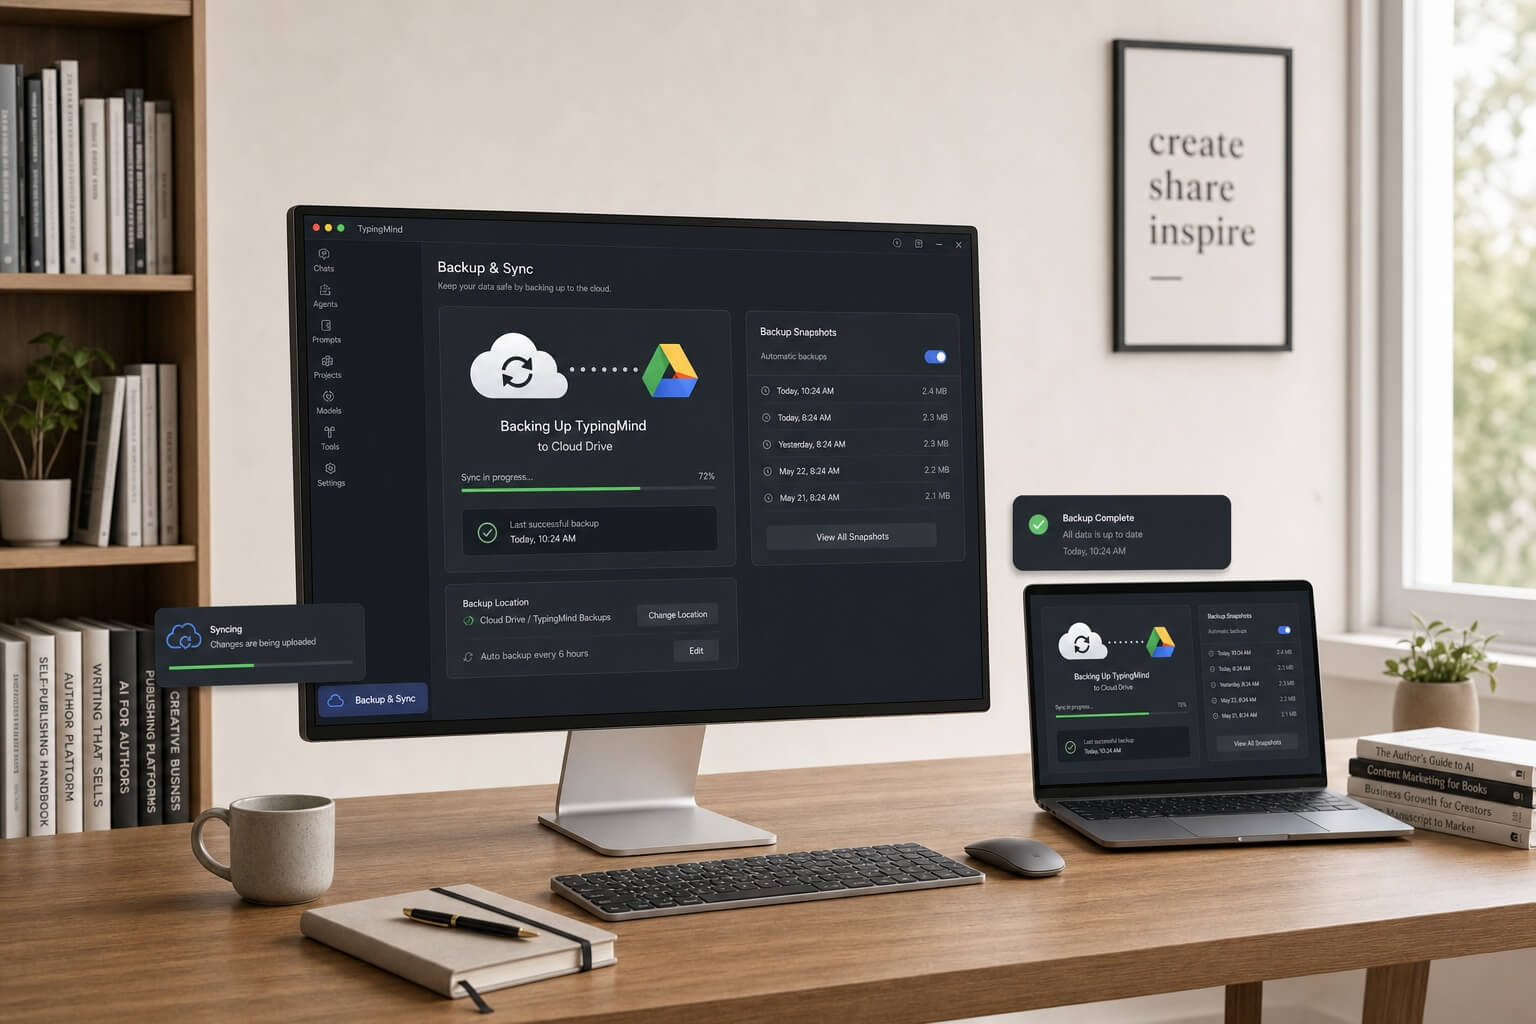
How to Set Up Google Drive Backup & Sync for TypingMind (Step by Step)
Never lose your TypingMind chats, custom personas, or settings again.
A couple of weeks ago, during our live TypingMind training, I did something spectacularly silly: I accidentally synced my main TypingMind install to an empty account and watched years of saved conversations and custom AI personas vanish in an instant.
I wasn't panicked, though. That's because I'd already set up the free Cloud Backup & Sync plugin, and within a few clicks, everything was right back where it belonged.
If you're using TypingMind in your author business (and especially if you've built up a library of custom personas, a knowledge base of your own work, or a collection of go-to prompts) this plugin is the safety net you didn't know you needed.
Why This Plugin Beats the Built-In Sync
TypingMind has its own built-in sync, but the open-source Backup & Sync plugin gives you three big advantages:
- No storage limits. Unlike TypingMind's native sync, there's no cap on the amount of data you can back up.
- Thirty days of backups. You can roll back to any snapshot from the past month.
- Manual snapshots. Testing something risky? Take a snapshot first and restore with one click.
- Cross-machine sync. Install it on your desktop and laptop, and your chats stay in sync.
And since the plugin recently added direct Google Drive support, setup is now easier than ever; especially compared to the S3-compatible storage options that used to be required.
What You'll Need Before You Start
- A TypingMind account (web or desktop app — both work)
- A Google account (free Gmail is fine; Google Workspace works too)
- About 15 minutes to work through the one-time setup
You can follow along as I walk through the entire process with you in this video, or read the transcript or step-by-step directions below:
Click anywhere within this unedited transcript to jump directly to that part of the training.
Why Use Backup Sync
Step 1: Export Local Backup
Step 2: Install Sync Extension
Step 3: Pick Storage Provider
Step 4: Create a Google Project
Step 5: Enable Google Drive API
Step 6: OAuth Consent Setup
Step 7: Publish App to Production
Step 8: Create OAuth Client
Step 9: Connect TypingMind Sync to Google Drive
Step 10: Encryption Key Setup
Step 11: First Snapshot Backup
Bonus Step: Verify Files are Encrypted
Resources
AI Transcription provided by Descript.com.
Step 1: Export a Local Backup (Safety First)
Before making any big changes, always save a local copy of your data.
- In TypingMind, go to Settings → App Data & Storage.
- Click Export.
- Check or uncheck which data you want to include (chats, prompts, settings, etc.)
- Click Download File and save the
.zipfile somewhere safe on your computer.
If you ever need to restore from this file, just click Import in that same menu and select it. Hopefully you'll never need it — but you'll be glad it's there.
Step 2: Install the Backup & Sync Extension
- Head to the TypingMind Cloud-Sync Plugin GitHub page
- Scroll down to Step 1: Install the Extension and copy the install URL. (This URL always points to the latest version.) Alternatively copy this link which was current as of when this tutorial was put together.
- Back in TypingMind, go to Settings → Extensions.
- Paste the URL and click Install.
- Restart TypingMind (or just refresh the page if you're on typingmind.com).
You'll now see a new Sync button in your TypingMind interface.
Step 3: Choose Your Storage Provider
Click the Sync button, then open Storage Provider Settings. You'll see several options, but here's the short version:
- Google Drive (recommended): The easiest option, uses the native Google API, and you get 15 GB free with any Gmail account.
- Cloudflare R2: Also great — 10 GB free per month, and you'll almost certainly never exceed it with TypingMind data alone.
- AWS S3, Backblaze B2, Google Cloud Storage, Wasabi: All work fine, but require more technical setup than Google Drive.
For this guide, we're using Google Drive.
Step 4: Create a Google Cloud Project
Now we switch over to Google's side of things:
- Go to the Google Cloud Console.
- Click the project dropdown at the top of the page, then click New Project.
- Name it something recognizable — e.g., “TypingMind Sync.”
- Leave the organization field blank (not needed for personal use) and click Create.
- Once it finishes, use the project picker to select your new project.
Step 5: Enable the Google Drive API
- In the Google Cloud Console search bar, type “Google Drive API” and select the first result.
- Click Enable.
This gives your project permission to read from and write files to your Google Drive.
Step 6: Set Up the OAuth Consent Screen
- In the left sidebar, go to APIs & Services → OAuth consent screen.
- Click Get Started.
- Fill in:
- App name: “TypingMind Sync” (or whatever you like)
- User support email: your Google email address
- Click Next. For Audience, choose External. Click Next again.
- Enter your email address again under developer contact info.
- Click Next, then click I Agree.
Step 7: Publish the App (Skip the 7-Day Re-Auth Hassle)
By default, test apps require you to re-consent to access every seven days. Let's fix that:
- On the OAuth consent screen page, click Audience.
- Click Publish App.
This moves your app into production so the connection stays permanent. (It's still private — nobody else can use it unless you share your credentials.)
Step 8: Create Your OAuth Client ID
- Still in the OAuth section, click Clients in the left sidebar.
- Click Create Client.
- Set Application Type to Web Application.
- Give it a name, like “TypingMind.”
- Under Authorized JavaScript Origins, add:
https://www.typingmind.com(for the web app or PWA)- Or, if you're self-hosting on the Premier Plan, enter your own URL (including
localhostif applicable)
- Leave Authorized Redirect URIs blank. Click Create.
You'll now see a Client ID. Copy it to your clipboard: this is what connects TypingMind to your Google Drive. (You can also download the JSON file for safekeeping, though you won't need the client secret for this setup.)
Step 9: Connect TypingMind to Google Drive
- Back in TypingMind, open the Sync panel and go to Storage Provider Settings.
- Switch the provider to Google Drive.
- Paste your Client ID into the field.
- Click Sign in with Google.
- Choose your Google account and grant the requested permissions.
- You should see a confirmation: Authenticated successfully.
Step 10: Set an Encryption Key (Highly Recommended)
Before you take your first backup, set an encryption key in the Common Settings tab.
This encrypts all your data before it's uploaded to Google Drive. Even if someone somehow accessed your Drive account, your chats and settings would be unreadable gibberish.
- Choose a password you'll remember. (You'll need it if you ever set up sync on a second machine.)
- Click Save.
Step 11: Take Your First Snapshot
- In the Sync panel, click the Sync button.
- Give your first snapshot a name; “initial backup” works fine.
- Click OK and let it run.
The time this takes depends on how much data you have. If you've been using TypingMind for years like I have, it may take a few minutes. If you're newer to the platform, it'll be quick.
Once it finishes, you'll see your snapshot listed under Available Backups. From here on, sync happens automatically.
Bonus: Verify Your Files Are Actually Encrypted
If you're curious (or paranoid in a healthy way), open Google Drive and look for the TypingMind Cloud Sync folder. Drill into your backups and you'll find your chat files. If you try to open one, you'll see nothing but encrypted gobbledygook. That's exactly what you want: your data, safely stored, and unreadable to anyone but you.
Why Bother?
If you've invested time into building custom AI personas, curating a knowledge base of your own manuscripts or research, or simply accumulating conversations you plan to revisit, this plugin turns Google Drive into a zero-cost, unlimited backup system that protects all of it.
Set it up once, and then mostly forget about it — until the day you're very glad you didn't.
🎥 Prefer to watch instead? The full video walkthrough is embedded above and walks you through every screen.
🔗 New to TypingMind? If you don't have an account yet, use our referral link and we'll both get an extra half-gigabyte of cloud storage. If you then send us a support ticket letting us know, we're happy to send you an open link to Training #636 (TypingMind: The Author's AI Control Center) for a full deep-dive on using TypingMind in your author business.